miko@tunto.cn
Latest products
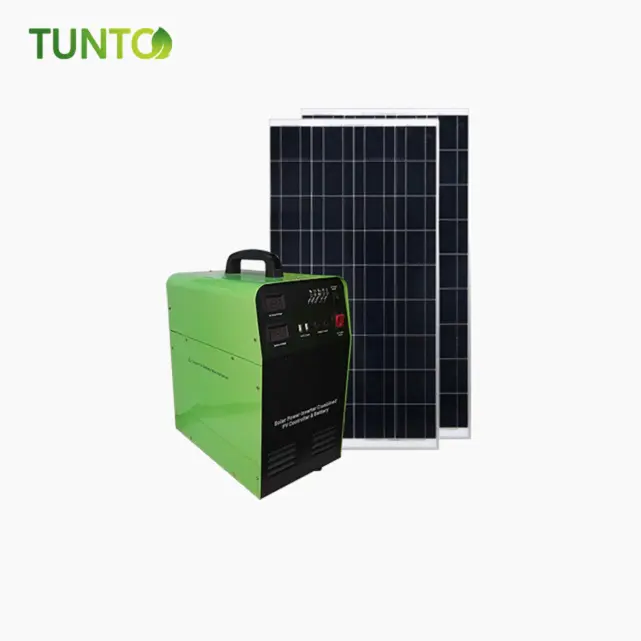
576 watt hour portable solar generator
by:Tunto
2020-02-06
Hello, I am sharing my DIY 576wh portable solar generator project.
For some time, I have been hoping to inspire more people, especially more ham radio operators to adopt energy-intensive battery chemical tires, such as lithium iron phosphate used in this project.
My personal inspiration for this homemade solar generator came from a power grid failure in Puerto Rico during Hurricane Maria.
Many people do not have renewable energy to refrigerate food/medicines, do not have electric lights, do not charge their phones or tablets, and do not power ham radio stations in order to provide emergency communication during telephone and grid failures.
If such a power grid shutdown disaster occurs again, such solar generators and solar panels could be a valuable asset.
The video is long but complete.
73Julian oh8stnI decided to use the Headway 40152 s lithium iron phosphate battery.
You need to test and pre-
Please charge separately before we build the package.
The first step is to charge the battery to a safe voltage.
I use the nominal voltage of 3. 2 volts.
I used my turniy charger to charge each cell individually and the dentist made them internal resistors and then I split them into three parallel groups.
This configuration will get 45 amps of time from the package.
The battery module is the next part of the build.
We will build the battery pack in a 3p configuration of the 4S.
This means that we have three parallel units and four connected units.
You have to decide what configuration you will put your unit in, but don\'t worry, it doesn\'t matter as long as you have 3 units in parallel 4 series.
The next step is to add the busbars balance to the package.
But be careful here.
You don\'t want to do two things.
First of all, do not connect the balance to BMS, only 4 batteries in series.
Secondly, the protection bus is not short-circuited.
In addition to balancing the leads, BMS has two connections that need to be welded.
There is a negative battery charge to the negative side of the battery pack, and the power supply is negative to where we discharge the battery pack.
It is important to use the correct line gauge here.
For this project I use the 10A GW wire to reduce the loss and heat.
I also encapsulated BMS between two cutting boards.
Since this project is in a fence, I want to protect the BMS from impact and bounce.
Since the wires of BMS are also via Bluetooth splitter, we can continue to integrate the splitter into the system.
There are multiple ports on the splitter, but we are only interested in four of them.
The two main connections in front are the splitter to measure the current, then we need pins 8 and 1 on the Bluetooth splitter to power the splitter and measure the voltage of the package.
The Bluetooth splitter takes the solar generator project to a whole new level as it gives us information about the input or output current load Watt, Watt hours. . .
There are a lot of interesting steps here, depending on the type of port you use to get power from the system.
Of course, we will have a USB port. I used to.
I have four more. 12-
Volt port and two solar input ports.
They are all Anderson poles.
I also need to decide the fuse box.
I\'m using a dedicated product for ham radio, but in hindsight I thought I \'d simply use the car fuse box.
I have ordered so I will update this project after installation.
So the fuse block I\'m using has a DC input for four main power supplies.
It has 7 outputs, each with a separate fuse.
Then it has a pass. Through the DC port.
I used 10 meter wires for all ports.
Each fuse of the DC output is 30 amps.
The USB output is combined in 5 amps.
Next, we will make all the holes on the outer shell.
It\'s easy, but you need to simulate everything in your fence and don\'t mark the place you want to cut outside.
I used to be a titanium step drill.
Measure Cutting once twice.
I originally intended to use a metal case, but not only was it too difficult to use the tool I had, but it was a short circuit risk in general.
There are Lock rings and threads on these ports.
Therefore, the lock on the port lip is wider than the hole we need to drill in the casing.
The ports are all from Powerwerx, including the back panel.
By now you should have known that we are building such a module generator.
The key is to be able to fix it if something goes wrong.
This includes replacing the battery, or replacing the fuse block, integrating the new BMS, whatever it is.
The problem with commercial solar generators is that they are thrown away when they are done.
Of course, you can replace the battery in the Target Zero Yeti 400 lithium.
However, with charging controllers and electronic devices in solar generators, users cannot use them.
Here are some tips to keep in mind when integrating everything inside the shell.
Before starting to integrate all components into the housing, first use kapton tape on all conductive services.
Next, combine as many modules as you can to make it easier to use.
Also, at this point in the build, you can see the various modules and how they are combined.
There are a lot of handmade work in this building that you can see in the video, but it\'s hard to explain in writing or without hundreds of images.
In this case, the video is worth thousands of words.
Everything on the parts list comes from eBay or Amazon.
I use eBay and Amazon because these places are not easy to find in Scandinavia.
In addition, there is buyer protection if there is any problem with parts from eBay and Amazon.
Parts List: progress lifepole cells: BMS 4S lifepo4. : DVI charging controller: USB: Powerpole pod: Powerpoles: Powerpole pressure pick-up: Bluetooth shunt: all links to the disclosure part list are associated links.
These links can help me pay for the fraction of what I use to build these projects.
Even if you follow the video or steps to build a solar generator, each of them will be different.
We make different choices about the ports we use, the wires we use, the solar charging controllers we use, and even the batteries.
The beauty of the solar generator is that we can choose the way we want to build it.
The choices we make it perfect for our personal needs.
So, at least in this guide, this solar generator is a template that you can make on your own.
Now, I\'m completely new to this structure, but I hope we can make this indestructible building an awesome one over time.
Custom message