miko@tunto.cn

Try setting a solar balcony for home and power by solar power with mirco inverter
portable solar generator
by:Tunto
2020-02-06
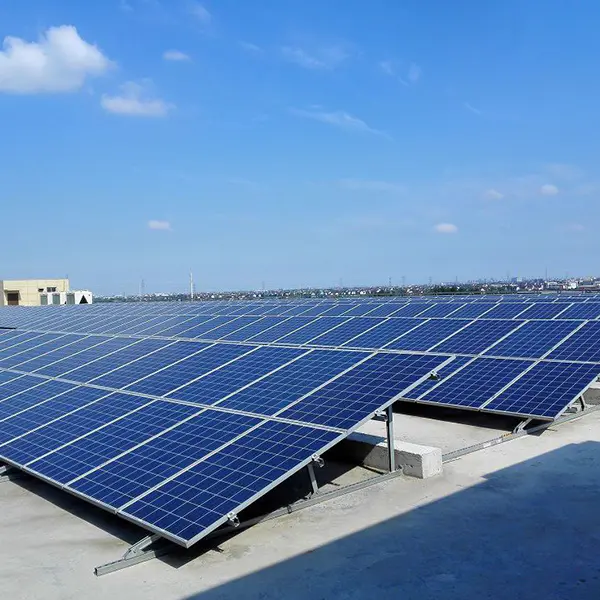
The picture above is not mine!
Having said that, I will sail to the Burning Man again this year, and this time I decided to come with some strength!
This year, I just made a portable swamp cooler that took me to the Burning Man and needed to add something to my gear.
One of the great things I love about outdoor activities is being away from technology etc, but after a few years I realized having some power to light up my camp, maybe cooling with a fan etc, it will be a great thing.
There are a lot of people going there to play with portable gas generators, which is great, but they are very loud and suck gas like crazy.
So I decided to be green this year and do something with renewable energy!
I have seen some other solar generators here too, and the design is very similar. (
The image above is not mine, but the finished one looks very similar)
All of these gears are made up of 4 main components and some small add-ons.
Some of the things I bought online bc are cheaper and I can\'t find anything where I am looking. 1. solar panel (~$60. 00)
I bought it on Amazon.
Com, you can buy a 10 W panel all the way up to 500 W.
Remember, you will get what you paid.
Since I don\'t need anything super powerful and just need to charge the battery I use, I chose 30 watts.
The sun will come out there all the time and it will make charging a breeze. 2.
Solar Charger Controller ($10. 00)
Amazon bought another one.
This adjusts the power from the panel to the battery and ensures everything goes well.
The last thing I want is anything that explodes on me! 3.
Deep Cycle Battery ($80. 00)
It\'s cheap for me to buy this.
This is 24 sets of deep cycle marine batteries.
There are several different types of marine batteries: Deep-cycle batteries, starter batteries, and dual-use batteries.
You want to buy a deep cycle, the power of bc and the constant charge it can hold. 4.
Power Inverter ($40. 00)
I bought it at Frys on sale.
I\'m not going to do a lot with my genny, so 400 watts is enough for me. 5.
Misc wires and battery boxes: you need some cables and something to put the battery and the inverter in so it can be put together instead of everywhere.
In addition, it makes it easier to carry everything.
It\'s actually much easier than you think! 1.
We started with solar panels.
It should come with a rope.
Now, the wires will be different depending on what you get.
I have a male/female connector on my connector that has another wire and a plus or minus clip on the other end. 2.
Plug the solar panel into the controller.
Since I have pos/neg clips on my panel, I just cut them off and exposed the wires.
They will easily be inserted into the slot specified for the panel, just tighten it with a screwdriver. 3.
Connect the batter to the controller.
In the slot next to the wesr that connects the solar panel, the battery will have two slots.
Run some cables from batter to controller.
I bought ten wires and connected some round terminals to one side.
The black tape indicates which is the negative lead.
Screw the other end into the controller. 4.
Connect the inverter to the battery! super easy.
Your inverter should have wires connected to the power supply, if not, you can use some of the 10 lines, put some circular connectors on them and put them together. 5.
Put all that garbage in the box.
Make it nice and tidy.
There is a partition in the box I bought, very convenient and will have everything ready for you.
You\'re ready to rock now!
I have tested it with string lights, my portable swamp cooler and some other little things and it works fine.
I\'m just making sure the charger can provide enough power for my needs.
If you have one, the multimeter will play a huge role in adjusting how much power is left in the battery.
You don\'t want it to fall too low from consumption.
But I haven\'t had this problem yet. Have fun guys!
Custom message
Related Products