miko@tunto.cn
add solar powered led lights to a harbor freight 45 watt solar panel kit
by:Tunto
2020-03-14
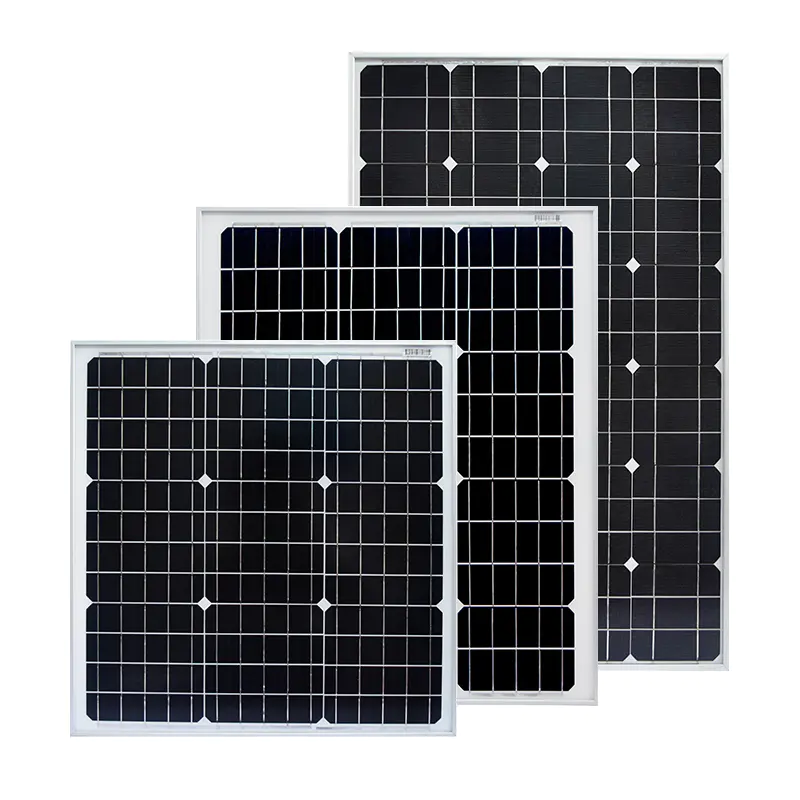
Last fall I added a port cargo 45 W solar panel kit in my external storage building.
I want the lights in the building, but it is not worth the power to the building just for the lights.
The lights at night were great, but the two fluorescent bulbs that came with the kit didn\'t provide enough light during the day, and I \'ve been planning to add LED lights for a while.
This is written-
I did this last fall on the port cargo 45 W solar panel kit.
This is written-
I did it on the installation itself.
There are a lot of suppliers out there, and many of them misrepresent their products.
So, when I buy LEDs for this project, I buy them directly from a Chinese supplier I previously purchased and trusted.
I would also like waterproof LEDs as they will be installed in an external building.
These are all available from Youmyelectric LTD in China, with a rolling cost of $11 at the time of writing this article. 84 delivered!
Roll is 5 m (~15\')
Long, the rope is waterproof and the LEDs are smd5050.
LED string ends with color coded line termination-black for -
Red for 12V and 12 V.
Waterproof is a heavy transparent silicone.
For the wire connection, I used the Weiler soldering iron plugged into the power inverter I got for Christmas.
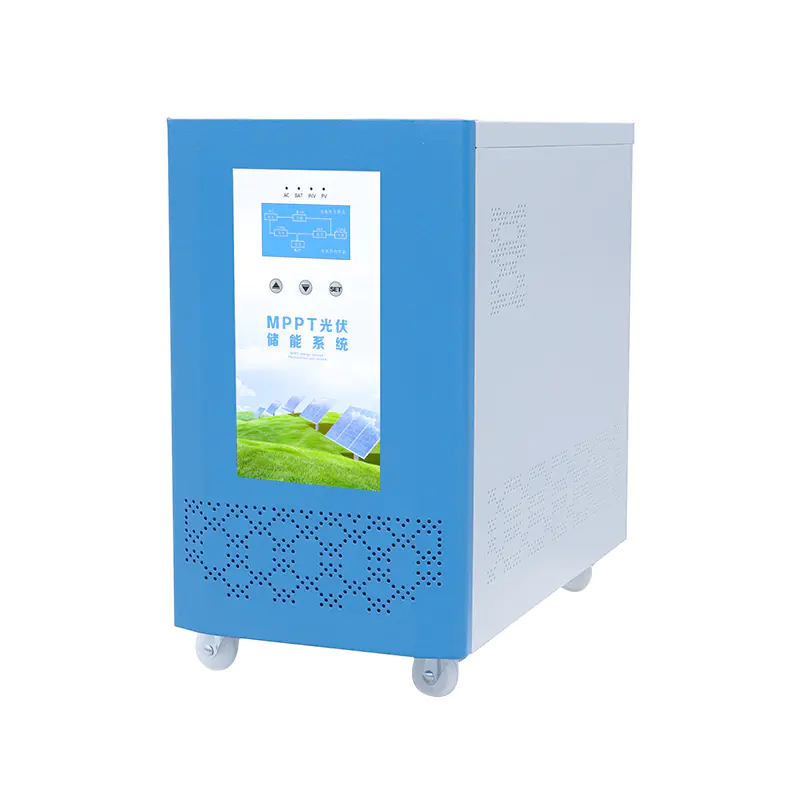
I then plug the power inverter into the solar charging controller that I have installed in my storage building.
If you don\'t have a soldering iron then you can use curl on the connector, but don\'t screw the wires and tape together!
If you do, the wires loose over time, and you will have a connection problem soon! ! ! !
The first real step is to find out where the end of the LED string is and then add the extension cord to power the LED string.
As I mentioned in the last step, I used the soldering iron.
I also laid some red and black wires around and it worked great.
Because it\'s low pressure (only 12 volts)
Any wire that is able to transmit current to the LEDs works, even the speaker wire works.
Just make sure you can identify which wire is connected to the black and which wire is connected to the red line.
Also make sure all your relationships are solid.
Here are the photos I decided to add the light bar.
It\'s the title, running all the time in the Workbench area of my storage building.
The LED light strip comes with 3m double sided tape.
To install, simply pull the backing apart and press it on any clean surface.
One thing to pay attention to is-
Don\'t be sharp.
In this step, the angle should be curved like my fourth photo.
I left the end wire of the connection in case I want to expand the LED string later.
Route your extension lines in such a way that they will not get in the way and will not be damaged later.
In my case, I put the wires through the insulated nails that I have used to power one of my fluorescent lights.
Take apart the lamp holder you will enter by unscrewing the front collar.
Once removed, you will see the wires attached to the back, they are color codedblack is -
12 V and 12 V in red.
The bear belongs to my grandson.
Feed two extension cords through the back of the lamp socket.
Peel off some insulation from the end of the wire, wrap the wire together, then place each wire under the correct screw and tighten it.
Reassemble the socket.
The wire should come out from behind the socket.
I tested the lights after the installation was complete.
The first photo is the other side of the storage building --
One side without LED lights.
The second picture is the LED light and fluorescent light I turned on.
Even if the light outside came in from the window, the LED lights made a huge change.
The third picture is LED lights and fluorescent lights on at night.
The fourth picture is to see the building at night.
The outside is not completely dark, and the camera adjusts the exposure to make the light inside the building brighter than it actually is. Thanks, Tomwww. kegkits. comMy Amazon.
I want the lights in the building, but it is not worth the power to the building just for the lights.
The lights at night were great, but the two fluorescent bulbs that came with the kit didn\'t provide enough light during the day, and I \'ve been planning to add LED lights for a while.
This is written-
I did this last fall on the port cargo 45 W solar panel kit.
This is written-
I did it on the installation itself.
There are a lot of suppliers out there, and many of them misrepresent their products.
So, when I buy LEDs for this project, I buy them directly from a Chinese supplier I previously purchased and trusted.
I would also like waterproof LEDs as they will be installed in an external building.
These are all available from Youmyelectric LTD in China, with a rolling cost of $11 at the time of writing this article. 84 delivered!
Roll is 5 m (~15\')
Long, the rope is waterproof and the LEDs are smd5050.
LED string ends with color coded line termination-black for -
Red for 12V and 12 V.
Waterproof is a heavy transparent silicone.
For the wire connection, I used the Weiler soldering iron plugged into the power inverter I got for Christmas.
I then plug the power inverter into the solar charging controller that I have installed in my storage building.
If you don\'t have a soldering iron then you can use curl on the connector, but don\'t screw the wires and tape together!
If you do, the wires loose over time, and you will have a connection problem soon! ! ! !
The first real step is to find out where the end of the LED string is and then add the extension cord to power the LED string.
As I mentioned in the last step, I used the soldering iron.
I also laid some red and black wires around and it worked great.
Because it\'s low pressure (only 12 volts)
Any wire that is able to transmit current to the LEDs works, even the speaker wire works.
Just make sure you can identify which wire is connected to the black and which wire is connected to the red line.
Also make sure all your relationships are solid.
Here are the photos I decided to add the light bar.
It\'s the title, running all the time in the Workbench area of my storage building.
The LED light strip comes with 3m double sided tape.
To install, simply pull the backing apart and press it on any clean surface.
One thing to pay attention to is-
Don\'t be sharp.
In this step, the angle should be curved like my fourth photo.
I left the end wire of the connection in case I want to expand the LED string later.
Route your extension lines in such a way that they will not get in the way and will not be damaged later.
In my case, I put the wires through the insulated nails that I have used to power one of my fluorescent lights.
Take apart the lamp holder you will enter by unscrewing the front collar.
Once removed, you will see the wires attached to the back, they are color codedblack is -
12 V and 12 V in red.
The bear belongs to my grandson.
Feed two extension cords through the back of the lamp socket.
Peel off some insulation from the end of the wire, wrap the wire together, then place each wire under the correct screw and tighten it.
Reassemble the socket.
The wire should come out from behind the socket.
I tested the lights after the installation was complete.
The first photo is the other side of the storage building --
One side without LED lights.
The second picture is the LED light and fluorescent light I turned on.
Even if the light outside came in from the window, the LED lights made a huge change.
The third picture is LED lights and fluorescent lights on at night.
The fourth picture is to see the building at night.
The outside is not completely dark, and the camera adjusts the exposure to make the light inside the building brighter than it actually is. Thanks, Tomwww. kegkits. comMy Amazon.
Custom message