miko@tunto.cn
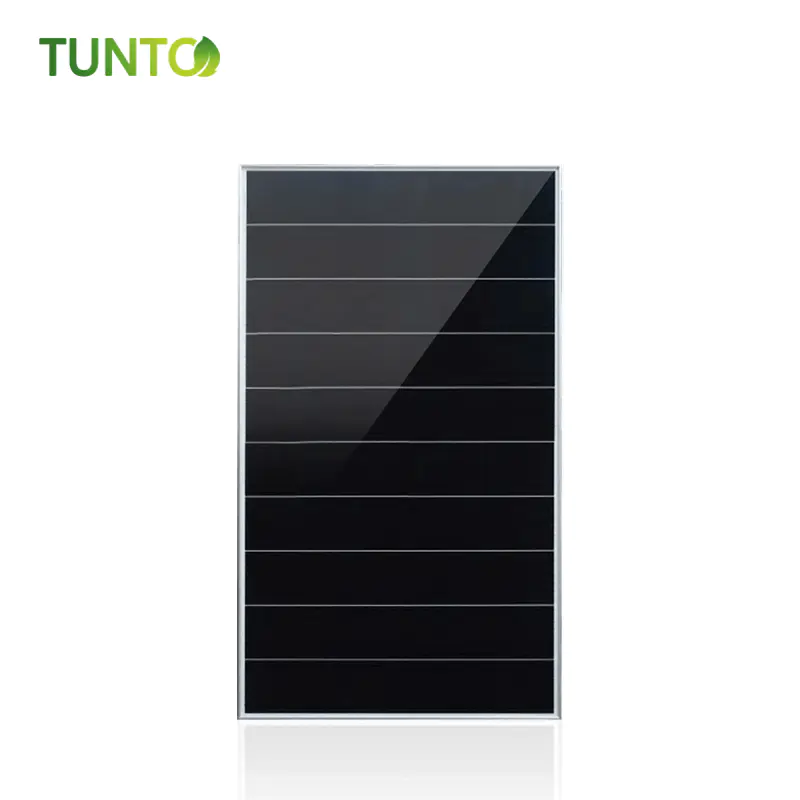
one person solar panel installation kit
by:Tunto
2020-04-21
The kit enables one person to install the solar panels onto the low-rise slate roof and can also be used on other types of roofs.
The kit also includes molds for the manufacture of rubber washers and bushes, as well as tools for placing parts in case a person cannot climb the roof or stand on it.
Note: this instructable relies heavily on 3d printed parts and you will either need your own printer or get the service available.
Quick Guide/index download for 3D printed parts 1/2/3/4 1.
Make a fixture to help mark the position of the bolt hole to be cut. 2. (
Optional method of making positioning fixture)3.
Investigate the area on the roof inside and outside to ensure that potential holes can pass through without obstacles. 4.
Tighten or secure the fixture in place and mark the holes with chalk 5.
Buy special diamond coated drill bits. 6.
3D printing cable vents and their accessories s7.
Make rubber parts using the attached 3D print mold 8.
How to use rubber accessories 9.
Set the cable vent10.
Cut holes and place panels.
Hill 12.
The first step in CADThe is to download and print a simple fixture that helps locate and locate mounting bolts on solar panels.
The holes you cut to the roof need to be precisely aligned with the holes on the solar panel, and in most cases you won\'t be able to see them through the roof!
You need a 3D printing fixture now, you can download this part here, it is a part that will allow you to use the ready-made stake bar as the frame.
Any DIY hardware store can find the positioning Rod and slide it into the 3D printing section.
This frame will be located on the underside of the roof, where you can easily and accurately mark the position of the hole by drawing a circle of chalk around the nail.
The 3D printed part needs to be printed four times and designed to be used with a positioning rod with a diameter of 11mm, although if you want to use a bar of different sizes, you can use FreeCAD to modify it
In the image, the pin on the green assembly that looks like the leg is 8mm pin bars, the guide you need to align with the holes on the back of the solar panel (
These nails are the same diameter as pencils. .
Once the nail is aligned, the wooden bar should be tightened or glued to the appropriate position, and once fixed, it will be used to draw a marking circle on the surface of the roof. Program: 1.
3D print four identical pins.
Insert and secure the pegs3.
Loose pin rods4.
Position the pin on the loose frame into the bolt hole on the back of the solar panel.
Tighten the fixture by tightening or gluing the pin rod in the best position. If you miss the frame above, it\'s also easy to make the fixture without 3D printing.
Some people may prefer improvisation if they have enough spare waste.
This fixture can be made easily and does not need to be as strong as you can see in the illustration.
This frame can be made from a variety of materials such as plastic UPVC tubes/cardboard or anything.
Just put some pins into the bolt holes of the solar panel and mark their positions on the frame or measure them.
Before you place the fixture and promise to mark a hole, you need to measure the inside and outside area to make sure the approximate position is safe and able to support the hole.
You need to make sure that nothing will hinder the hole like a wooden beam or a nail, resulting in unnecessary extra work, and you need to make sure that the hole does not fall on the side of the hole to overlap the slate, because this hole will have the potential to cause a leak if it is not properly prepared.
You need to have visual access on both sides of the roof.
Strong Magnet with blue
Big Head nails can be placed outside the roof with poles to help you roughly determine an ideal location for your future holes.
It also helps to ensure that there are no obstacles or problems.
Measure the top and bottom limits of the solar panel using a tape measure.
A compass waving inside the roof can easily identify the position of the magnet.
As you can see in the picture, there is a wooden beam blocking the potential hole and I need to move my fixture up and down to avoid this.
This technique can be reversed by placing a magnet inside and waving a compass on an exposed external roof, whichever is easier.
Once you have created your fixture and roughly determined the best place to place it, all you need to do is place it where you want it, place it on the surface of the roof, and mark the position of the nail with chalk.
Once you have made four marks, remove the fixture and put it on one side.
You can hold it with your hand while marking the fixture, but this can get awkward.
It\'s best to screw it to after, or clip it in the proper position to let the hands Mark freely.
You need two special drill bits, this one and this one, the best type of drill is a diamond coated cutter, and although it sounds expensive or hard to find, the opposite is true.
The sample image is from eBay and is intended to highlight price expectations and familiarize you with the look and feel of the tool.
I am building solar panel cables inside buildings using a 12mm-hole cut to accommodate the M10 70mm bolt-attached solar panels and a 40mm-cut mounting cable used as a feed vent.
These hole cutters can quickly and cleanly cut several layers of slate or tile at the same time without damaging the material.
I suggest you place the holes in a way that is far from any side of the Slate/tile, especially on the outside of the roof, as the rubber seal is important for a good flat surface.
The cable vent is a 3D print consisting of three parts, and there are two other parts for placing and making washers from the mold.
Download here.
The first thing to do after printing is to paint this part to prevent it from being exposed to the roof for many years, and also apply a mark on the bottom of the thread that will indicate the location of the external cable gap.
The next step is to feed the MC4 cable through the top (outside bit)
Through the shaft and then through the thread.
Glue the lid in place with epoxy glue to ensure that the gap at the front of the lid is opened.
The cable will feel rather stiff and you may need to clamp the lid when the glue dries.
The cable vent part is designed to keep the part open and its open side slopes to the roof so that the water flows down and through the vent.
After the cable is fed, the cover needs to be glued in place with epoxy glue.
This entire part is mounted in a hole of 40mm in the middle of the solar panel footprint.
All parts, including silicone molds, can be printed out immediately. . Program: 1.
Printing and testing of 3D parts. 2.
Draw a mark at the bottom of the end of the threaded vent to indicate the direction of the top vent. 3.
Paint the parts to protect them from the weather. 4.
Feed the solar panel cable into the main part of the vent. 5.
Stick the lid to the cable vent. 6. (LATER)
Place the silicone gasket on the threaded vent so that the gasket will be on the roof. 7. (LATER)
When placing the panel later, use the hook to put the vent into the hole.
Download the parts here and you continue to cut the holes you need to have all the parts ready so you don\'t wait for the parts while you have holes on the roof.
3D printing gasket sealing mold and four bushing block mold.
Download here.
By filling a 3d printed plastic mold with any silicone, the rubber parts can be easily manufactured, or the window glue can be used, also known as the silicone caulking agent.
This silicone rubber has been living outdoors for 25 years and can be found in many hardware stores.
Alternatively, RTV silicone for molding models can also work.
You need to pour/inject or paste the silicone into the mold, and then carefully scrape away anything extra at the top of the mold. Program: 1.
Download and print part 2.
Pour into your silicone memory of your choice and also make gasket washers for cable vent3.
Once cured, the plastic 3d printing will fall off and the rubber parts will fall off as well. (LATER)
Place the rubber parts on the vents and bolts with the tools provided. Download the part here, the rubber bushing will pause the panel above the slate while forming a waterproof seal around the hole.
These bushing protect the slate from instantaneous forces such as wind or debris.
This rubber suspension will buffer the panel, allowing for a slight effect without applying pressure to the slate or panel.
The Bolt pulls the panel down from the slate, and the rubber bushing causes the spring-like tension to tie the bolt closely to the raf Sub.
Cross-section diagrams help to visualize how this works.
Most panels have bolt holes under the panels, and there are several ways to fix the panel bolts on the frame, which can be permanently fixed on the raf using sheet metal, these expose potential thieves to panel bolts.
This is usually not a problem with a high roof, but a problem with a low roof like a shed, which can be used.
Before any hole cutting is completed, place the silicone bushing on the protruding bolt using the hook. You need to have this 3D printed part ready and you should have practiced playing with the hook to learn how to connect and remove the hook from the vent shaft. 1.
The vent in the hole will fix the panel on the roof before Bolt connection 2.
It sends the cable through the roof to the solar charging controller 3.
It can prevent rain from leaking onto your roof: before placing the parts on the roof, make sure you \'ve put on the molded gasket as soon as possible and make sure it doesn\'t fall off, if you forget to do so, it will be painful to separate it and re-separate Itdo.
Placing the hook will be mounted at the end of a long pin or pole and you will use it like a robot arm (
Unless you can climb the roof and do it by hand)
At this point, the cable vent should have been connected to the solar panel through its cable, and the cover on the vent should be firmly glued to the appropriate position.
Make sure the MC4 cable is strong enough to support the entire panel.
Make sure that the MC4 cable connector does not pass through the shaft of the cable vent after it is in place.
Drilling is a fairly fast and easy process, and the Diamond pointed cutter does not crack the slate.
I suggest you use a rather large drill that uses mains voltage instead of cordless drill.
Carefully align the diamond drill bit with the chalk circle you drew earlier on the leg of the fixture frame.
When the hole is cut, you can balance the panels on the roof when you plug in the cable vent using the hook.
After the panel is on the roof, you can use the hook to put the vent in the hole.
The vent will have a wire sticking out from the bottom of the thread and you need to be careful to guide the wire first into the hole and then use the hook to guide the vent into the hole.
You need to unlock and reconnect several times.
Once the cable vent falls into the hole, you need to go under the roof and find the threaded end of the cable vent.
When you leave, the vent assembly will temporarily hold the position of the panel through the cable.
Under the roof, make sure the position of the cable vent is down, which can be done by recording the position of the mark that should be done when drawing the part, it is important to prevent water from entering the roof.
Place the 3D printed nut on the thread of the vent and gently tighten the 3D printed part with your hand to keep it tight, but not too tight to make it difficult to adjust later.
The cable vent should be located below the solar panel in the middle of its footprint with a clearance of 20mm.
There are two ways to approach the bolt configuration, you can push the bolt down from the panel, ready to enter the slate, or stretch out from the slab to prepare the panel to balance at the top.
No matter which way you do this, make sure you stick the rubber bushing to the Bolt first before putting down the panel.
You can place the bushing using the hook tool.
Make sure you use a pin rod or pole long enough. The process:1.
Drill bolt holes. 2.
When you plug the cable and vent using the hook, place the panel on the roof and hold it with one hand. 3.
Enter under the roof and screw the nut of the cable vent. 4.
Use the bushing hook to apply the silicone rubber block to the bolt. 5.
Go back to the outside panel and position the panel by handing over the bolts.
There are four rafter installations for 3D printing.
Download here, each 3D printed bracket slides through the bolt, and before marking the screw hole with a pencil for drilling or self-tapping, you need to pull up and down the print with your hand to set the tension.
When you pull the mounting point, you will feel the rubber bushing compressed like a spring.
Try to feel a slight rejection reaction, you can tighten it later using the bolt if needed.
Make sure you don\'t use too much force, because if the bushing is buckled on the slate, they may not be flat on the slate and may leak, you can buckle the rubber bushing.
The installation points for 3D printing are quite common, with both long and short versions.
Also include the FreeCAD file and the STEP file so you can modify it.
About 20 cm long so some tolerance exercises can be done.
Download here the CAD program I use is FreeCAD 0. 17 .
And one more (STEP)
Included files, which is an interchanging format that allows you to edit or modify in any CAD program.
FreeCAD is free software and open source software.
Custom message