miko@tunto.cn

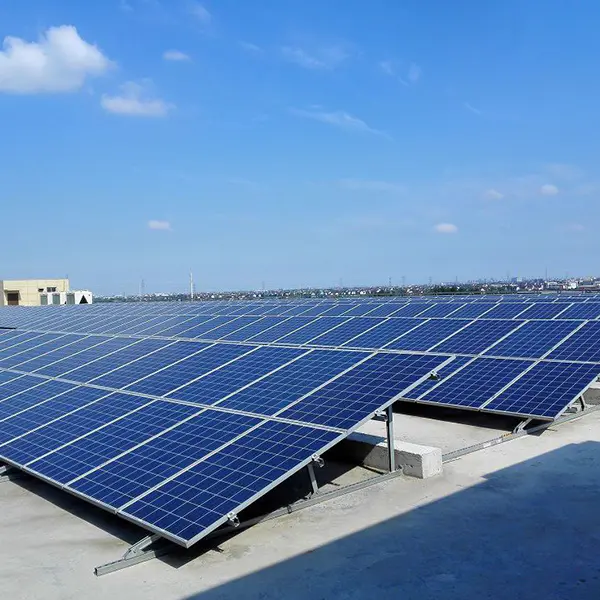
Try setting a solar balcony for home and power by solar power with mirco inverter
diy 30w portable solar panels under $50
by:Tunto
2020-02-14
For a long time, I wanted to make solar panels myself.
I finally got a chance this week.
I \'ve learned a lot from youtube videos and teaching sites, but most of the panels are made of glass, wood and epoxy.
I realized that too much effort was made to get cheap rejected solar products from ebay.
So I decided to have to use either polycarbonate or acrylic in this job.
I \'ve heard stories of acrylic films melting at high temperatures, solar cells being destroyed by moisture, etc.
But I decided to continue because it was the simplest, most powerful, and most secure package I could think.
The panel pack 22 3 \"x 6\" batteries cost me about $35 (.
5 V x 3A x 22 = 33 W).
The whole device can be folded and connected in different ways, for Li-
Ion, SLA, or NiMH battery pack.
Solar cells: pick from ebay.
40 3x6 batteries with tabbing line-
Optix acrylic sheets $40: $28 (32x44 inch sheets)cut into 4 -
16x8 and 1 16x12.
Bought this from Lowes and they are happy to cut it for free. Thanks Lowes!
Silicone sealing-$6 (
This is GE\'s, flexible, clear and cured within 24 hours
Rubber electrical tape (optional).
Small 3/8 W interval (
$100 per pack). Some wires.
I am not going to go through this step in detail.
There are many videos online.
Most of them work, but if you do this for the first time, you break some batteries and the solder on some of them will not stick to the solder.
Mark them and then connect them to the bottom of the topo with 4 cells in one row.
Then weld both ends with a bus and connect 2 connecting lines.
This photo has had more batteries since I welded more batteries to use the available space.
But you can decide to make this for 4 cells, 6 cells, or 8 cells.
However, if you make the panel longer, it is possible for you to face the fact that the acrylic sheet may become too flexible, which may destroy the cells.
To encapsulate the cell, place the cell in the middle of the cut sheet.
Make sure you clean the sheets and cells with windex to remove any fingerprints.
Put a little Silicon in the center of the cell, flip them, gently press them and stick them to the acrylic sheet at the bottom.
Then put some tile gaskets.
I used a space capsule of 3/8.
I put them on the lid so that any direct pressure on the lid does not crack the battery.
Follow these steps: 1.
Put the silica gel behind the cell and stick it on acrylic paper. 2.
Place the tile gasket. 3.
Enlarge the amount of silicone at the edge of the acrylic sheet.
Then stick the paper on it to the cell. Thats it!
Let the Silicone dry and the panel is ready.
Each battery produces a current of about 2 v, with a current of up to 3A in the best case. (6W of power).
To test the panels, I string them into negative panels.
I then connect the positive pole of the panel to the positive pole of the battery, and the negative pole of the panel to the negative pole of the battery.
I should have used a blocking diode, but I skipped it for testing purposes because the panel would generate a higher voltage and thus drive the current into the battery.
Panel production is close to 8.
5 V, but they are attached to a 6 V battery. 3 V.
Therefore, the battery reduces the panel voltage to about 6. 3 volts.
However, the panel continues to be placed.
The current of 3A enters the battery, thus gradually increasing the battery voltage.
After about half an hour, the battery voltage reaches 7 V.
After the panel is removed, the battery is restored to about 6. 4 or 6.
But it did charge some money.
You must be careful not to let the battery voltage exceed 7. 2-7.
5 V because it will damage the battery permanently.
Another good idea is to cover all the edges of the solar panel with normal electrical insulation tape.
With 2-tape on both sides
3 layers to provide it with neat finish and extra protection.
For me, the next step is to design the charging controller for the panel.
I have ordered some from eBay and I will let you know which works well.
Custom message
Related Products