miko@tunto.cn

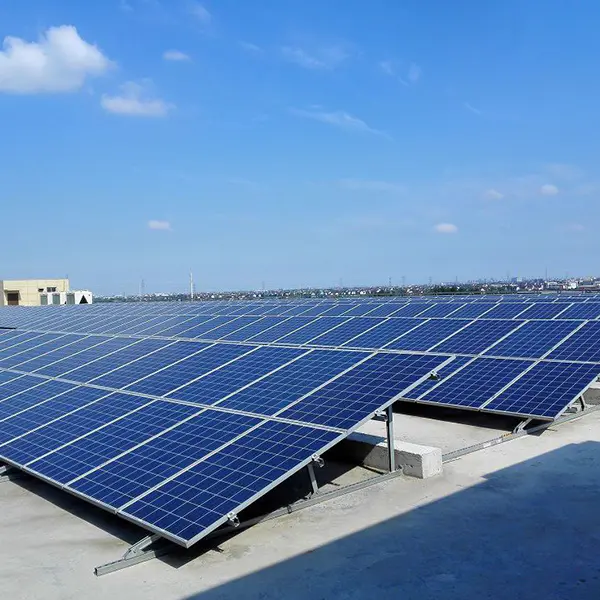
Try setting a solar balcony for home and power by solar power with mirco inverter
portable solar powered outlet
by:Tunto
2020-02-07
In this note I will try to explain and show how I created a portable solar socket.
I have been able to power a 80 watt device for about three hours in a row without interruption, it can last longer and run the drill without hesitation or deceleration under load.
This is a powerful machine!
Remember, the voltage x amps = Watt when you build your device.
There are a few things to pay attention to before proceeding. 1)
This is my first note and I hope I have done it right. 2)
I\'m not an electrician or a handyman.
I\'m just a regular Joe who took advantage of my existing resources and came up with something cool.
This description involves wiring.
If you are uncomfortable, or you don\'t know what you are doing, learn before doing it, and don\'t blame me if you do it yourself.
What you need: 1)Battery (
I used a 12V 26AH battery and I ordered about $65 from the Internet)2)Inverter (
I used a 410 continuous watt inverter I bought at Wal-Mart.
About $35)3)
Charging Controller (
I bought one online for $18. 4)Solar Panels (
I used the garden light I bought from Walmart. Mart for $0. 97 each)5)
6) wire
Soldering iron and soldering tin
8)
Put everything down there.
Common tools ](
Needle tongs, screwdrivers, stapler, drill bits, etc. )10)
Dremel tools or sandpaper
Are you ready?
This step is easy but tedious.
Remove the top of the garden light and reveal the screws.
Unscrew the \"lid\" and set aside (
Don\'t throw it away).
You should see some hardware (
Battery connector, wire, LED, battery).
Remove all unwanted hardware-
This will be the battery, the wire for the battery (
Make sure the panel wiring is not pulled out)
Battery connectors and LED.
Now that you have cleaned the panel, it\'s time to weld it.
Add a wire length to each wire from the panel.
This will make it very easy to connect them later.
After welding the wires, screw them down through the holes on the lid.
Test the panel using a multimeter.
I\'m about 2 in the sun.
5 V per panel unit.
It\'s time to make your box.
My box is 12 \"high, 12\" wide, 18 \"long.
I use 35 panels, about 1 each. Diameter 75 \".
If your panel is the same size, this may be the smallest panel you can leave space between each panel.
You need to figure out how big you want your box to be, which will depend on how much space your panel will take up.
It\'s time to make the lid.
I use one of the panels as a guide to draw the circle to be drilled out.
I used a 3/4 hole (
I think that\'s what they said.
In the end, it was too small, so I dug out the holes and made them a little bigger.
I would suggest starting the drilling process in the middle of the lid so that when there is almost no remaining material on the outside of the lid, you will not press in the middle --
You may break your lid if you try.
After drilling/painting/finishing the lid, put the solar panel into the hole you have already drilled.
Since I was a little satisfied with Dremel and made some big holes, I used a little gorilla glue to help secure the panel inside. (
After using in the sun, the glue softened and as I was driving along a very bumpy road, some of my panels fell off --
I recommend using a lot of glue or finding other ways to make sure they stay at home. . .
I am still trying to fix my adhesive and would be grateful if there is any suggestion that the adhesive will not soften in the Sun).
Lay a towel or something soft and cover the lid so the panel is down and the wire is on.
I divided my panel into five rows and seven rows. That\'s how I wired it.
I have five series and seven (
Caused between 16-
18 volts per series)
Then I put it in parallel. (
All the way down, I connected red and black, red and black, red and black.
Then I connected both ends (
One end is my red end and one end is my black end)
Run out together to give the charging controller. )
I covered the welding point with tape, but the heat shrink would be better, I just didn\'t want to buy anything else for this item, so that\'s how the tape is. Back in the box.
I dug a hole, put a wire box in the hole, and then wired the wire box (
With the help of the electrical staff at Home Depot and my father --in-law)
The end cut from the extension cord.
The male end of the extension line will be inserted into the inverter.
On the opposite wall, I dug a hole for the light switch to turn the inverter on/off without opening the box.
Put the inverter into the box and fix it down.
The bracket I used was originally for plumbing but was soft and could be cut with kitchen scissors (thanks, Honey! )
To the right length.
I really screwed it up because I didn\'t want it to move.
It\'s strong inside.
I leave the switch physically on the inverter in the \"on\" position so that the light switch can turn it on/off.
I put the charging controller on the side of the box because when I put the battery there the bottom will be filled well.
Once again, I was surrounded by water pipes and really screwed it down.
Now that the charging controller, inverter and panel are all installed and ready, it\'s time to put the battery in.
I also put it in brackets so it doesn\'t move. Please note -
I haven\'t connected anything to the battery until everything else is ready, so when I try to connect something, I don\'t have a power cord. I\'ll explain (and show)
Connection in the next step.
It\'s time to connect everything.
This is the order in which I do everything: 1)
The panel connected to the charging controller. 2)
Socket connected to inverter. 3)
The inverter is connected to the light switch I have installed so I don\'t have to turn on the box to turn it on. 4)
The charging controller connected to the battery. 5)
Battery connected to the light switch/inverter. 6)You\'re done!
Now you have basically done everything.
I put the hinge on the lid so that it will hinge up and I also put an adjustable bracket so that the lid can be opened at different angles in order to be more directly exposed to the Sun
I also drilled two small holes on both sides and used a rope through the handle. Enjoy!
Custom message
Related Products